Ben Smithgall
Welcome to the web blog
Bit pusher at Spotify. Previously Interactive News at the New York Times, U.S. Digital Service, and Code for America.
Making a big button to answer FaceTime calls
March 26, 2025
A family member of mine struggles to accept FaceTime calls from the computer. Imagine if you had limited mobility or physical dexterity and wanted to answer a FaceTime call on a Mac. You need to be able to physically move a mouse or trackpad cursor over to a (pretty small) “Accept” button and click on it. I mean, just look at the tiny size of this thing:
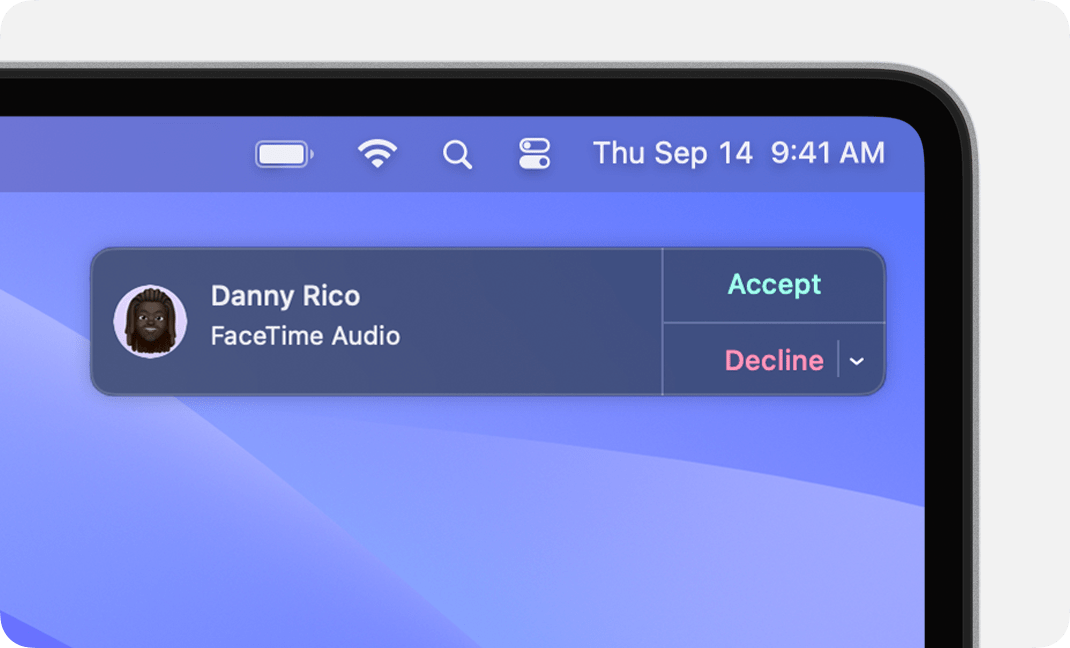
I took this screencap directly from Apple!
What if instead you could just mash a giant physical button? Here’s one sort-of ridiculous way of making this work.
Step 1: Automate the click
Something I didn’t know but probably should have is that MacOS comes with an
application called “Shortcuts”, a pretty powerful automation tool.
You can wire it up to do all sorts of different things with different MacOS
applications with its somewhat convoluted if-this-then-that interface. You can
control a lot of the built-in applications with Shortcuts with varying levels of
built-in control. The Notes app, for example, supports Shortcuts for all sorts
of things like Append to a Note or Move a Note to a Folder. FaceTime,
however, only supports making outbound calls via Shortcuts. This could be
useful, but we’re trying to get to the opposite: answering a call.
However, Shortcuts can also be used to trigger arbitrary AppleScript commands.
AppleScript is a language included on MacOS that provides a way
of automating tasks. It has a sort of goofy english-esque syntax that you use to
boss your computer around. Here’s the sample from the documentation that counts
up the number of files in the Applications directory:
tell application "Finder"
    if folder "Applications" of startup disk exists then
        return count files in folder "Applications" of startup disk
    else
        return 0
    end if
end tell
Some MacOS applications have pretty nice integrations with AppleScript, but the
project seems to have largely been abandoned in favor of things like Automator
and Shortcuts. Wikipedia has a nice history. In any case,
Facetime does not have nice integrations with AppleScript, so we have to abandon
that and just attempt to automate clicking on buttons on the display instead.
Without further ado, here’s an AppleScript to click on that tiny Accept
button:
tell application "Shortcuts"
  tell application "System Events"
    delay 0.1
    set acceptButton to a reference to button "Accept" of group 1 of UI element 1 of scroll area 1 of group 1 of window 1 of application process "NotificationCenter"
    if acceptButton exists then
      click acceptButton
      delay 2
      repeat while exists (window 1 of process "FaceTime")
        delay 30
      end repeat
    end if
  end tell
end tell
What in the world does this do? Well:
tell application "System Events"scopes our commands to the “System Events” application, a place where non-GUI functions can be executed (like entering a keystroke, etc)delay 0.1waits for 100ms to give FaceTime time to render the button-
The next big giant block finds the
Acceptbutton. It lives in a big element hierarchy:NotificationCenter > window > group > scroll area > UI element > button. The way I figured this out was by using the XCode Accessability Inspector and working backwards through the display hierarchy:
One big caveat here is that this definitely not future-proof. This element hierarchy worked for Sonoma, but inspecting it again for Sequoia shows some pretty large differences in the layout. In this case, the people I am building the button for aren’t planning on upgrading, but it is something to keep in mind.
- The rest is just waiting for the button to exist, clicking on it, and then keeping the script running for as long as FaceTime is open. For some reason I had to do that or FaceTime would just close randomly which was very frustrating.
- We also wrap up the whole thing up in a
tell application "Shortcuts"to try and scope down what applications we allow to control our computer via Accessibility settings.
So now that we have our AppleScript, we can bind it into our Shortcuts application and give it a keyboard shortcut! I chose ⌘⌃⌥8 basically at random.
Step 2: Automate the keyboard command
Now that we have a (terrible) way of clicking on a tiny button by instead pressing a ton of keys together at the same time, let’s automate the pressing of the keys!
You can use a microcontroller to emulate a USB keyboard and have it send the keys in question based on a relevant signal. Since I knew basically nothing about hardware going into this mess, I used an Arduino Micro, though you could probably do the same thing with something a bit smaller and cheaper.
One nice thing about using Arduino is that there are good instructions and guides for getting started and writing your first Arduino sketches. The Arduino website has some good tutorials. Here’s what I came up with for sending keystrokes programatically to a computer:
#include <Keyboard.h>
int btnPin = 2;

bool currentlyPlaying = false;

void setup() {
  pinMode(btnPin, INPUT_PULLUP);
  Keyboard.begin();
}

void loop() {
  if (digitalRead(btnPin) == HIGH) {
    currentlyPlaying = false;
  }

  if (digitalRead(btnPin) == LOW && !currentlyPlaying) {
    currentlyPlaying = true;
    Keyboard.press(KEY_LEFT_GUI);
    Keyboard.press(KEY_LEFT_ALT);
    Keyboard.press(KEY_LEFT_CTRL);
    Keyboard.press('8');
    Keyboard.releaseAll();
  }

  delay(500);
}
Basically, we:
- Set up the Keyboard library
- Wait for a signal to come in on pin 2
- Press all of the keys needed at the same time
- Stop once the button is released.
With this, you can automatically send whatever combination of keys to the computer whenever you get a signal on a given pin.
Step 3: Make a big button
Now that we’ve carefully set up all the pieces of our machine, we can bring them together using a giant button. I got one of these. It makes an extremely satisfying “chunk” sound when pressed. The next step was to wire everything up. Here’s a small diagram of how this button works:
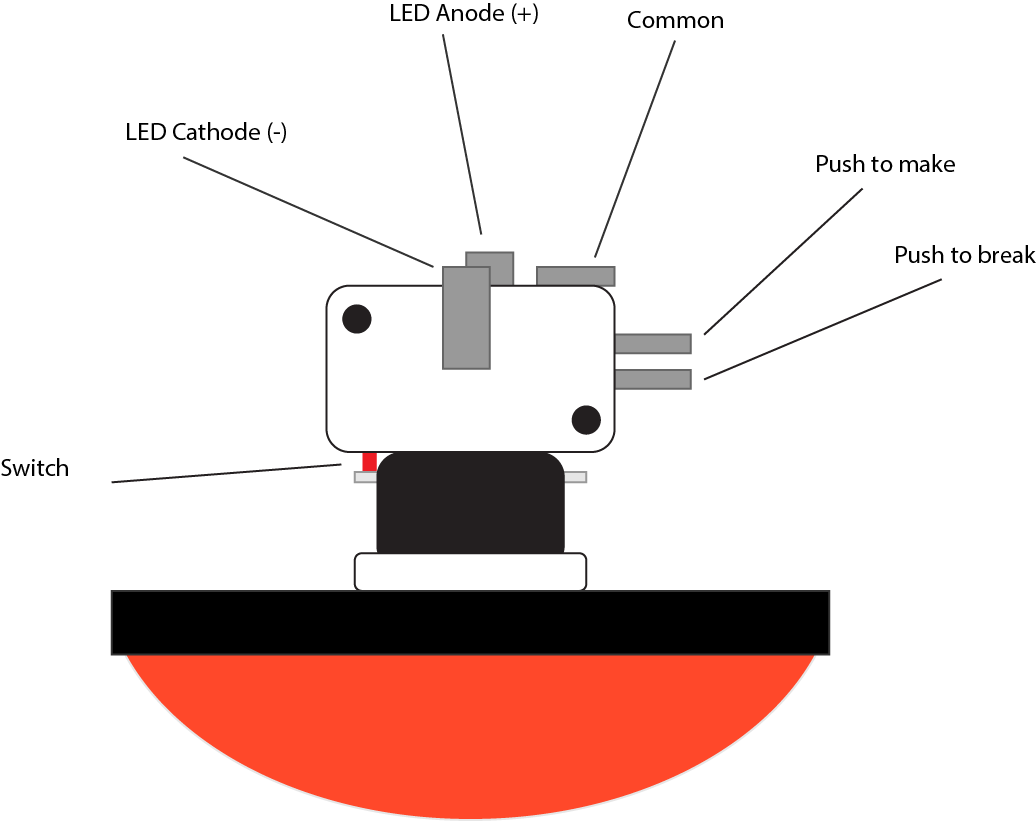
Essentially, we want to run a wire from the “push to make” into the Arduino at pin 2, and then a wire from the arduino ground pin to the “common” terminal on the button. Here’s what that looks like all wired up (sorry for the extremely blurry photo):
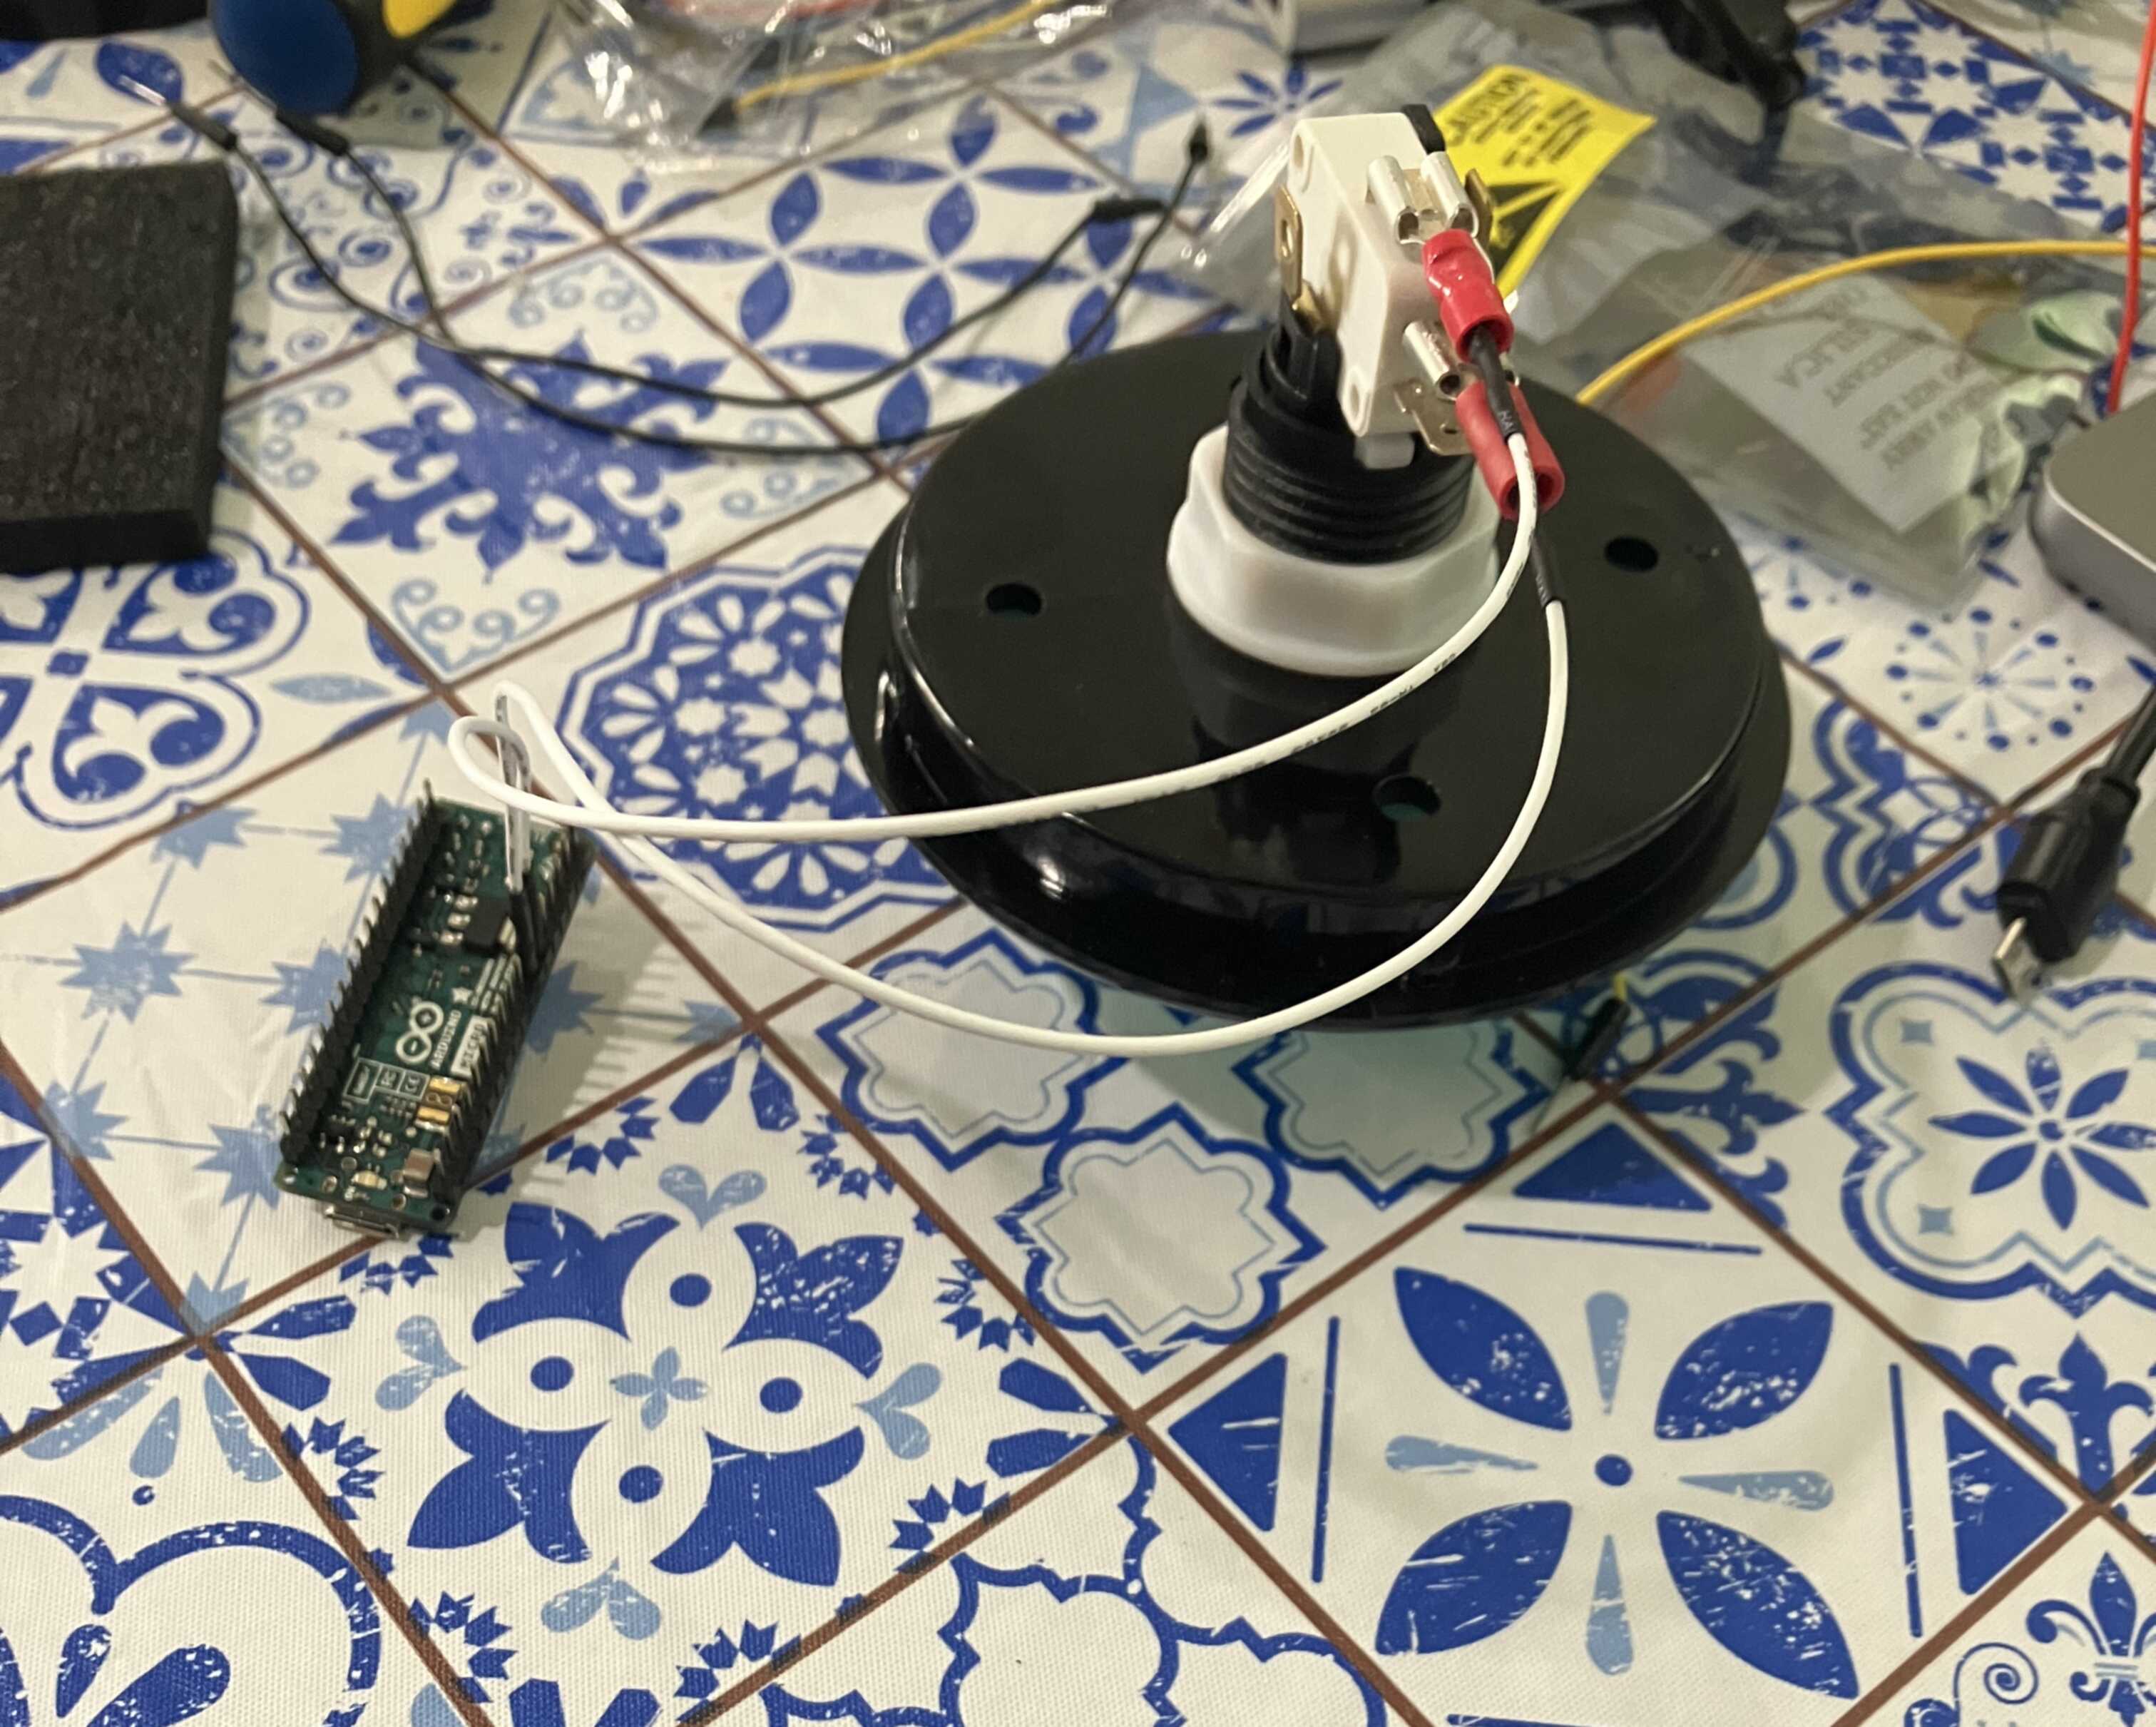
One note here is that the button itself has an LED on it, so if you were interested you could also wire in some LED stuff but I just didn’t in the end.
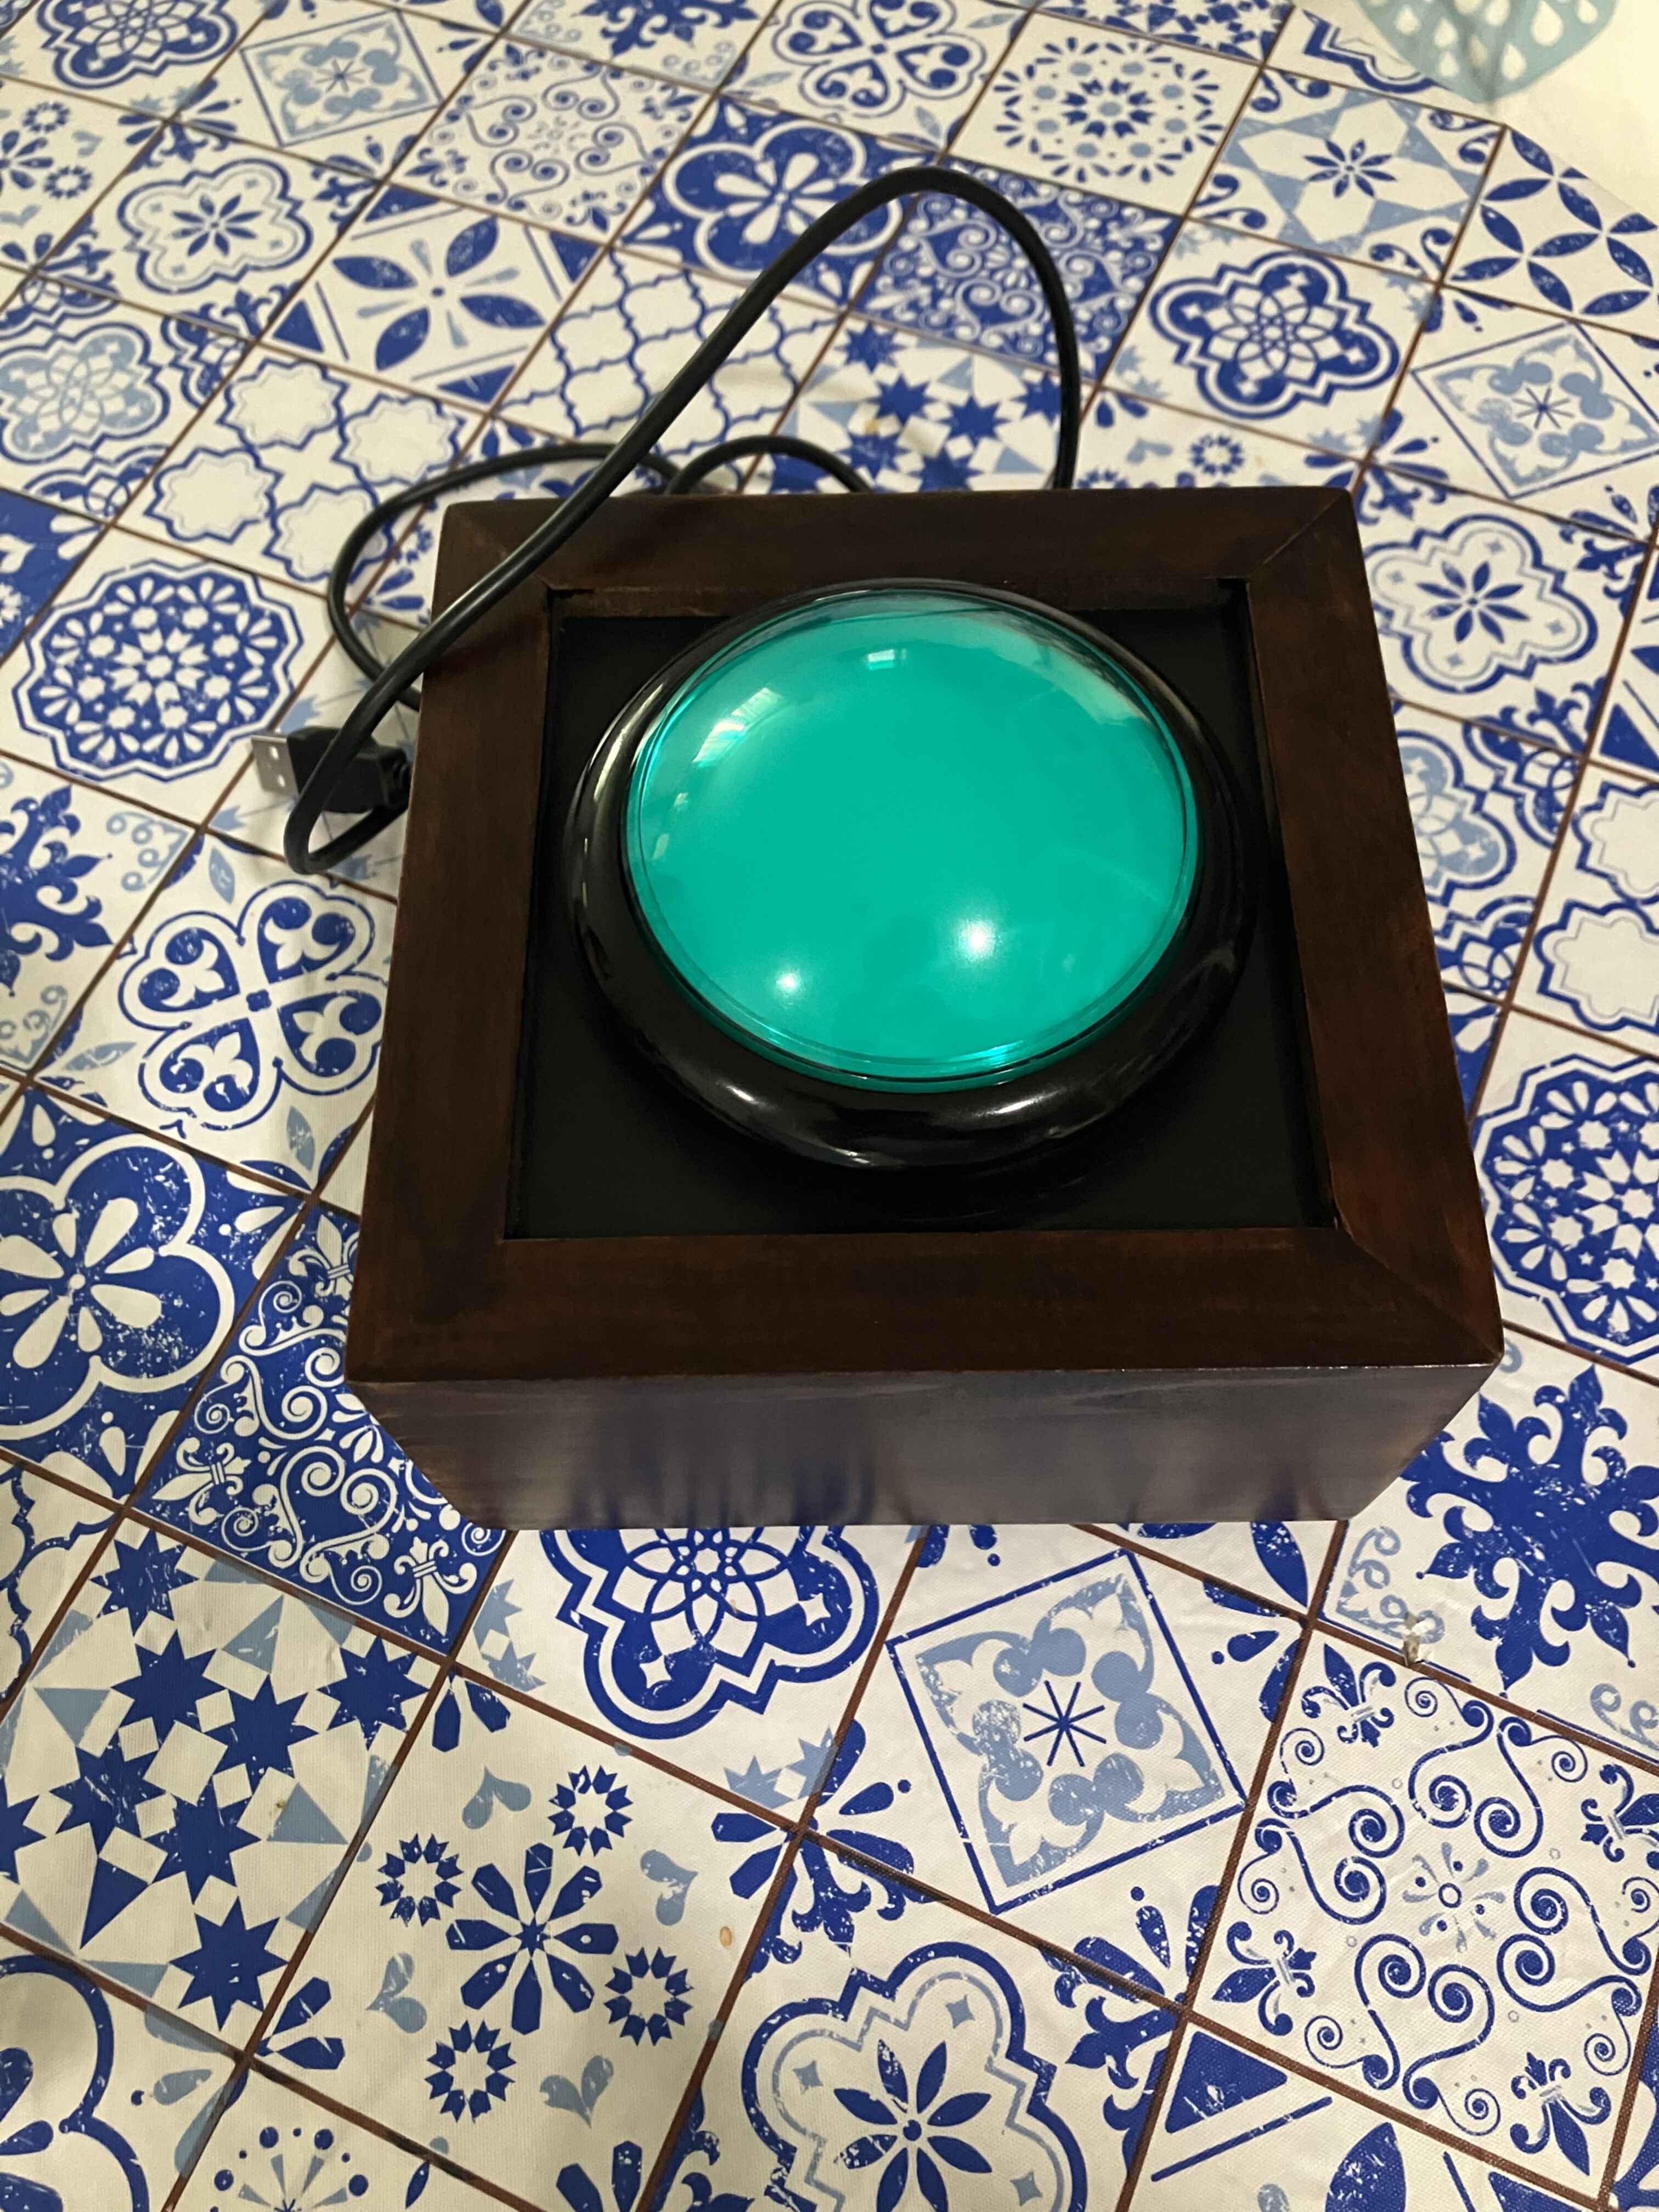
I was also very lucky to get a beautiful wooden enclosure built and stained by my wonderful and talented father.
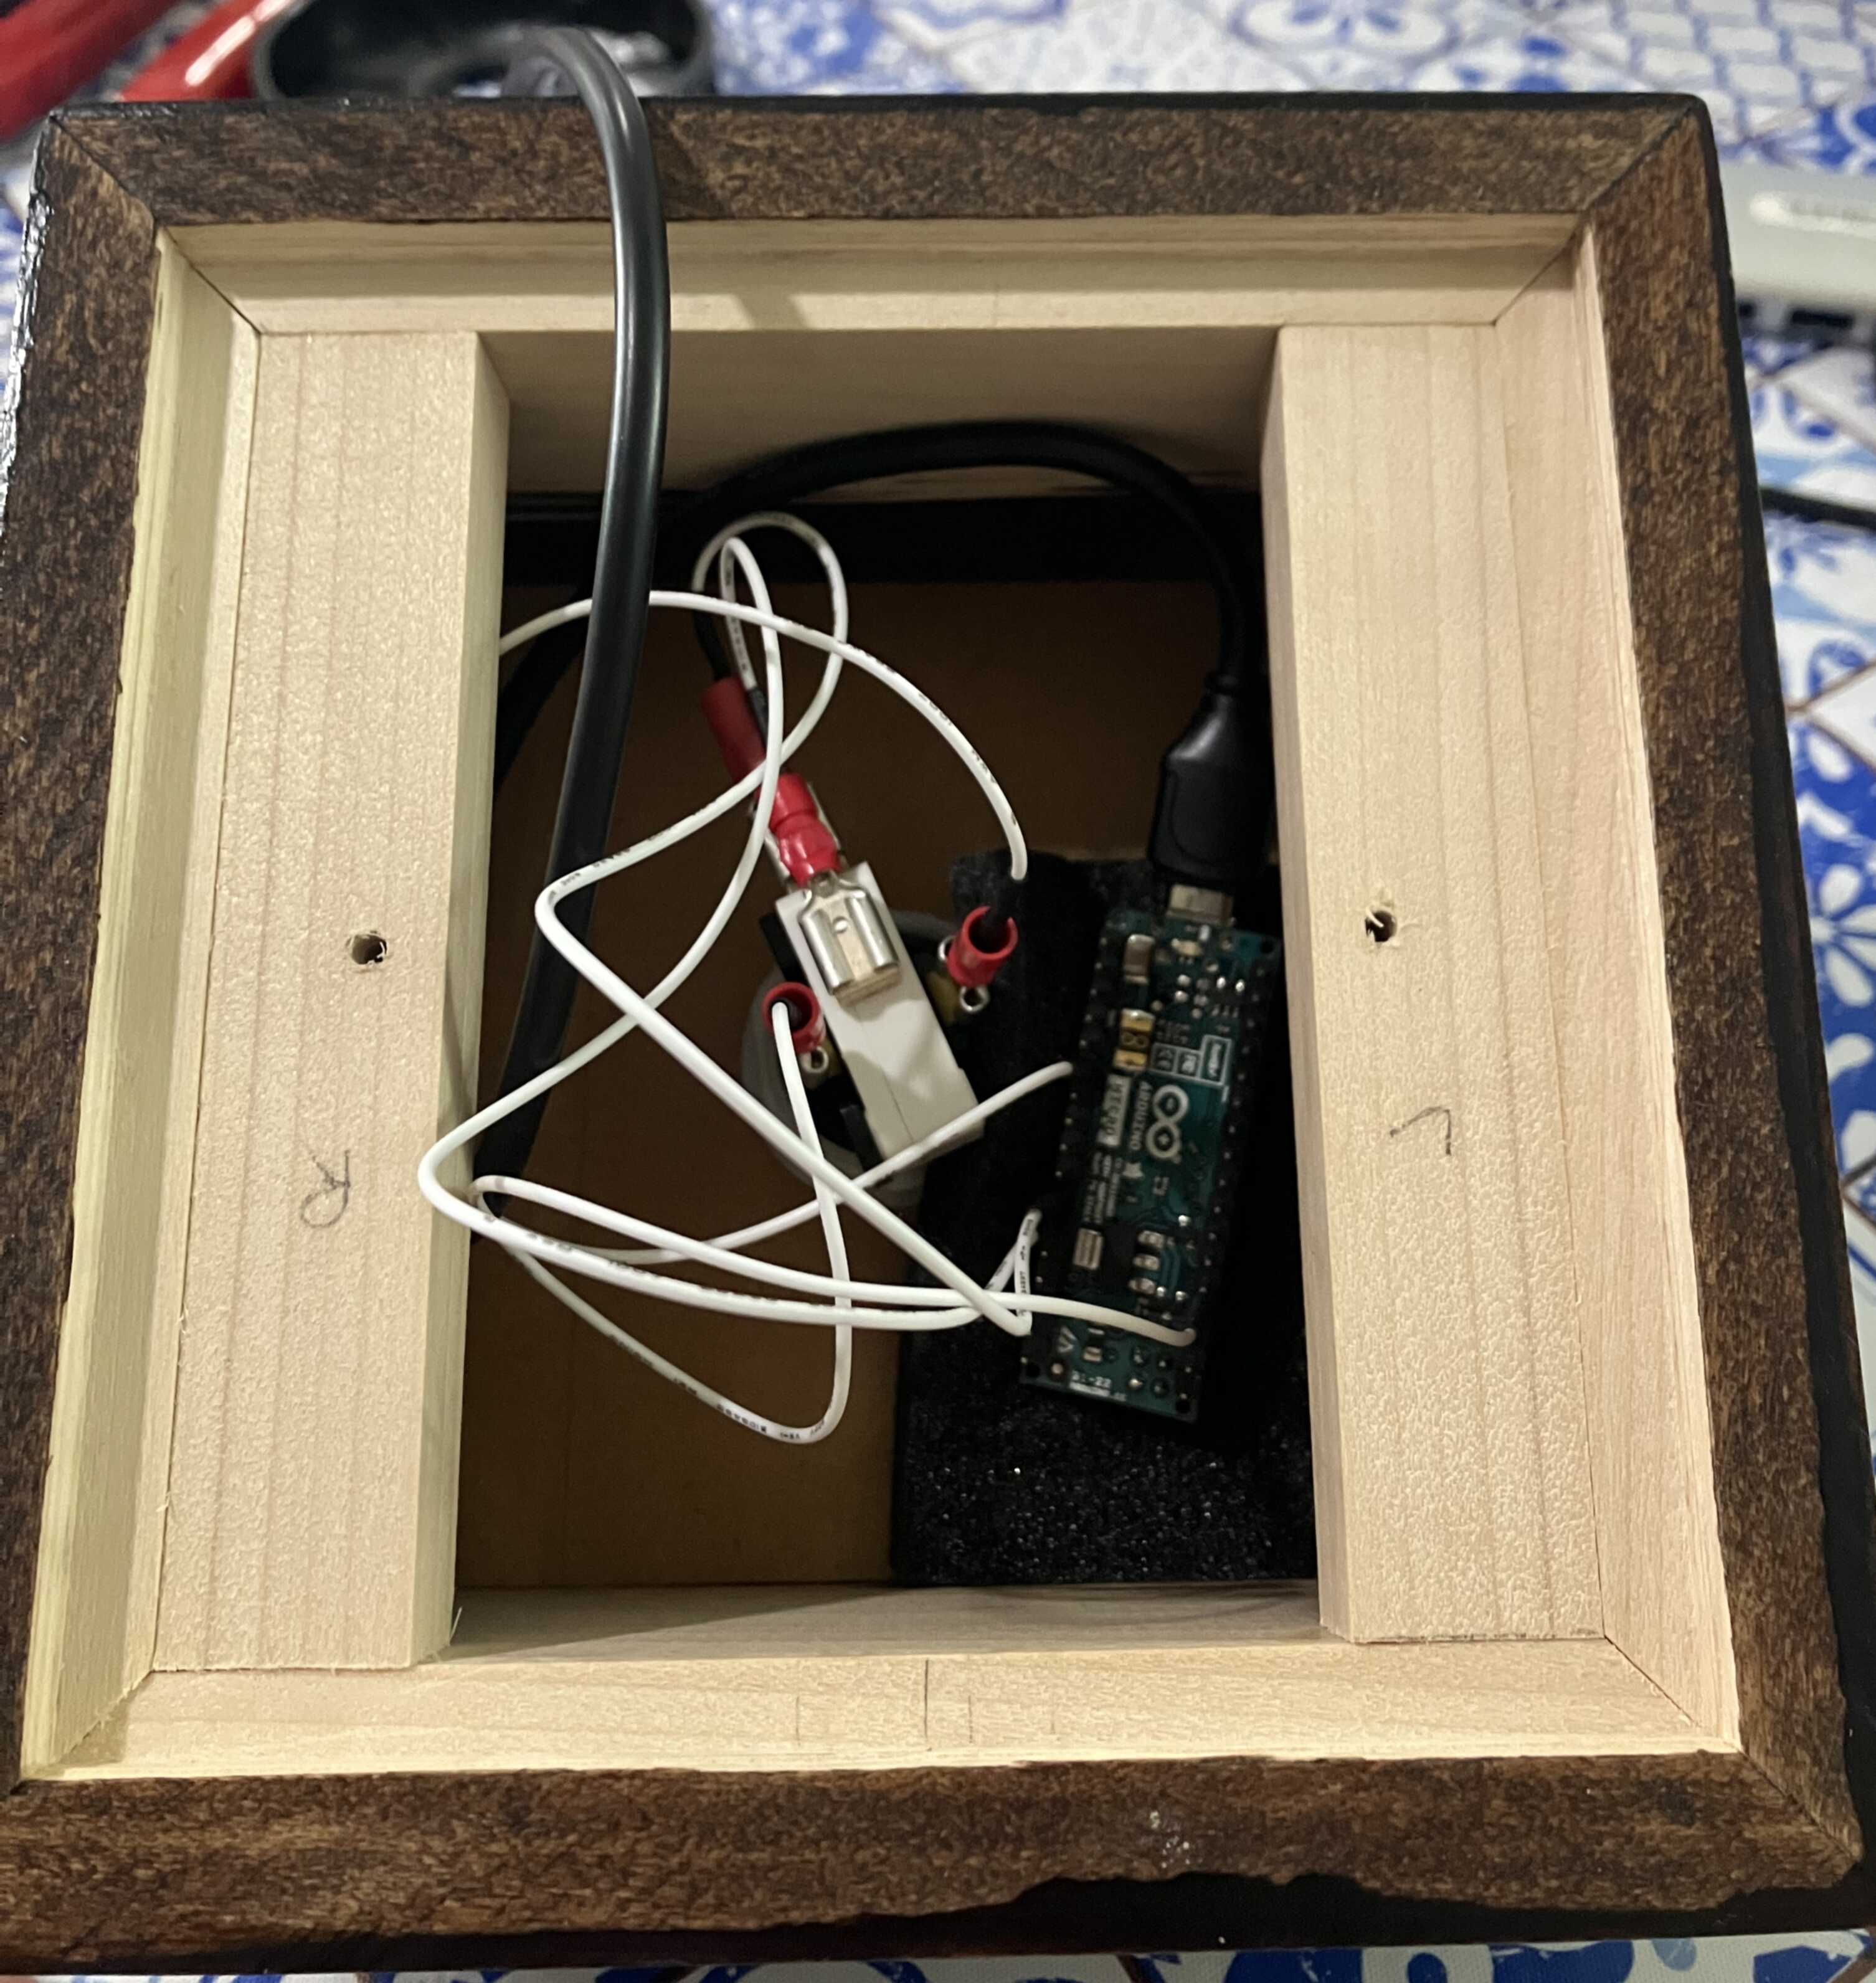
And here it is all finished:
Recap
So, what happens when you push this button?
- The
digitalReadsignal fires on the Arduino, sending ⌘⌃⌥8 as a keyboard signal. - That keyboard combination starts a MacOS “Shortcut” which triggers an AppleScript
- The AppleScript searches for the “Accept” button on an inbound FaceTime call and clicks on it.
- You talk on FaceTime.
Is it brittle? Yes. Is it hacky? Yes. Does it work? Yes.


